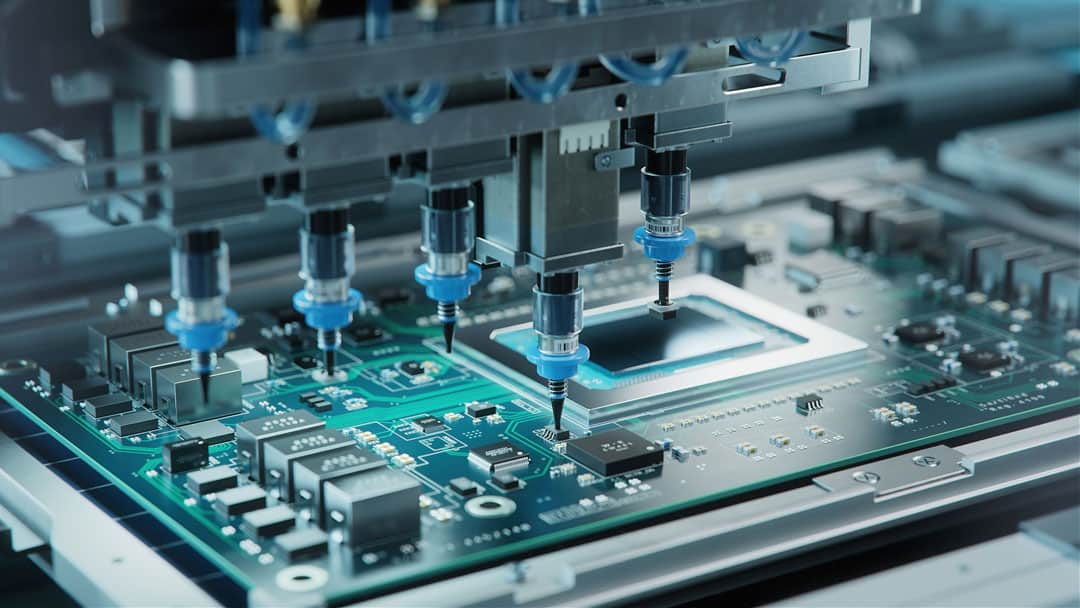

Printed circuit boards or PCBs play a key role in most electronics. If you take apart any advanced device, you’re likely to see the small chip with its characteristic green color and copper lines. Because of how widespread they are, PCB assembly has become a common, but vital service of electronic contract manufacturers. In this article, we’ll go over the basics of the PCB assembly process, including the major components of a printed circuit board assembly and the steps involved in the process.
Printed circuit boards are small green chips made of fiberglass and copper (or another metal) lines that provide connections between the components on the board. The whole board is held together by an epoxy and insulated with a solder mask, which gives it the characteristic green color.
PCB assembly is the process of mounting small components onto the circuit board in order to ensure that it functions a certain way. Typically, PCBAs are used for more advanced applications or for electronics that will serve a very specific purpose. PCB assembly can be automated or manual, though these days, automated assembly is much more common thanks to advancements in robotics technology. However, there are still certain steps that are typically manual, especially depending on the type of PCB being crafted.
The base of a PCB consists of several key components that are largely the same across all boards. The substrate, which can be rigid, flexible, or metal, is what gives the board its rigidity (or flexibility). Rigid substrates are the most common, typically consisting of fiberglass, but flexible boards like Kapton plastic are popular for applications that require more bendable and temperature resistant boards. Another alternative is the metal core PCB, which tends to spread heat more efficiently and protect components on the board that are more heat sensitive.
The next layer is the copper foil, which can adhere to either or both sides of the substrate. After the copper is added, a solder mask covers the entire board, keeps everything in place, and provides places of attachment for any components added. The final layer is a silkscreen, which typically consists of labels that indicate the function of each component on the board.
There are two basic types of equipment used in PCB assembly processes. The main one is surface mount technology (SMT) which places sensitive and typically very small components such as resistors or diodes. This is almost always automated these days for more efficient and effective assembly.
The other basic type of equipment used in PCB assembly is Through-Hole Insertion Technology (THT), which is excellent for larger components with leads or wires that have to be plugged through holes. It’s usually used for components like capacitors and coils, and can be either manually done or automatic.
Cypress Technologies has been providing proven, hassle-free electronic manufacturing services to our customers since 1987, offering everything from prototype to production. Check out our website to learn more about how we can take your electronics to the next level.
The choices electronics manufacturers make when sourcing materials go far beyond cost and efficiency. Ethical…
The promise of new tariffs under the incoming administration creates challenges for companies reliant on…
The manufacturing industry is transforming as businesses increasingly focus on sustainability. Instead of sticking to…
In electronic manufacturing, quality is more than a feature—it’s the backbone of every successful product…
Reducing waste in manufacturing is not just a strategic choice; it’s an essential practice for…
Once characterized by resource-heavy methods and significant waste, traditional manufacturing processes are evolving to embrace…
This website uses cookies.